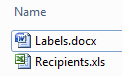
Open Word and save a new document in the same folder as the data you got from Regla.
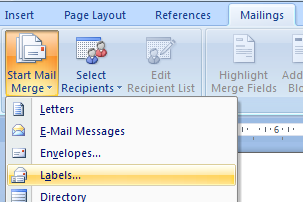
Select Mailings – Start Mail Merge – Labels (in Word).
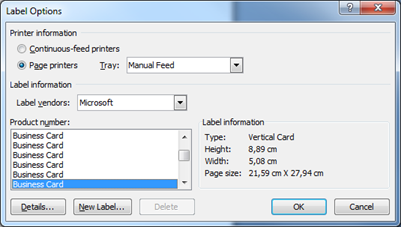
Select the label vendor in Label Vendors.
Select the type of labels in Product Number.
The vendor and product number can usually be found on the package or on the label sheet itself.
Click OK in Label Options.
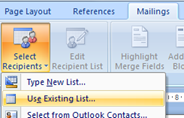
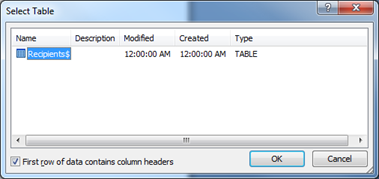
Select Mailings – Select Recipients – Use Existing List and find the Excel document acquire from Regla.
Click OK when Select Table appears.
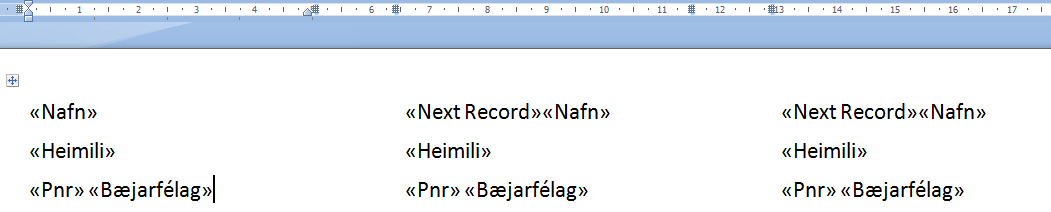
The Word document should look like this now:

The text cursor is located where data will be input for the next steps. <<Next Record>> indicates where the next records from the Excel document will appear.
Select Mailings – Insert Merge Field – Name and press Enter.
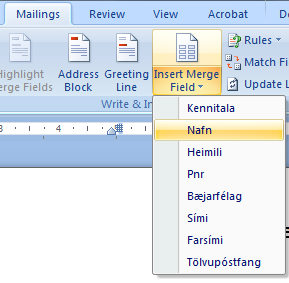
Select Mailings – Insert Merge Field – Address and press Enter.
Select Mailings – Insert Merge Field – Postal code and press the Space Bar.
Select Mailings – Insert Merge Field – City.

Select Mailings – Update Labels.
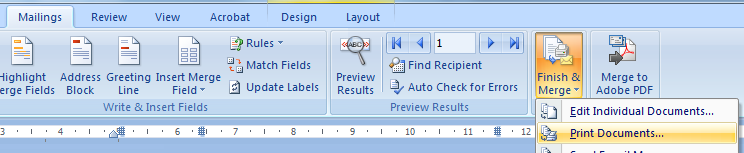
Select Mailings – Finish & Merge – Print Documents and OK to print the labels.
Click OK to print all the labels.
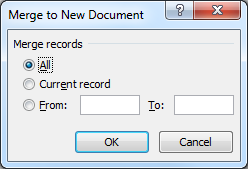
It is also possible to select Edit Individual Documents to create a new document containing all the labels.